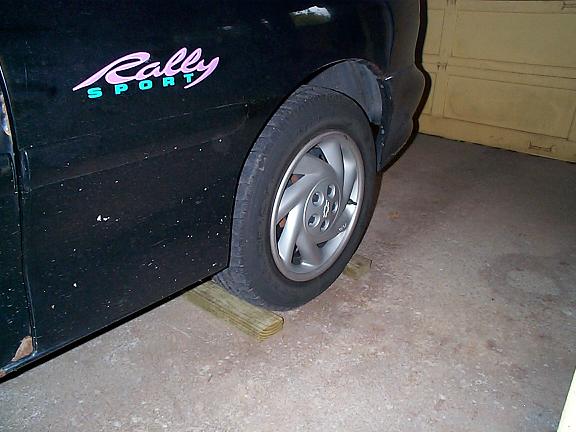
Block the rear wheels to prevent the vehicle from moving. Also engage the emergency brake. Jack Up the vehicle and place Jack Stands under the vehicle.
The following contains information on servicing the brakes and hub assembly on a 1997 Chevy Caviler
Block the rear wheels to prevent the vehicle from moving.
Also engage the emergency brake.
Jack Up the vehicle and place Jack Stands under the vehicle.

Remove the hubcap.
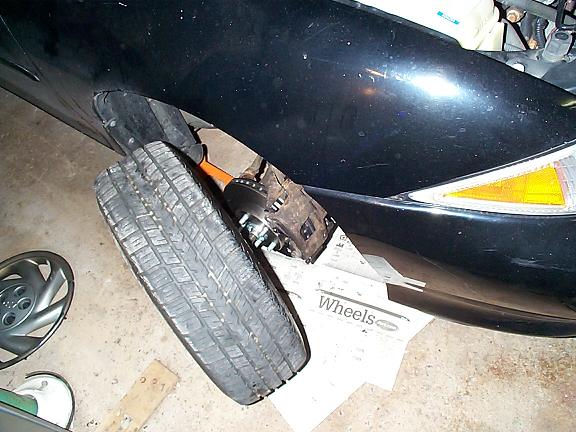
A 3/4 inch socket in needed to remove the lug nuts.
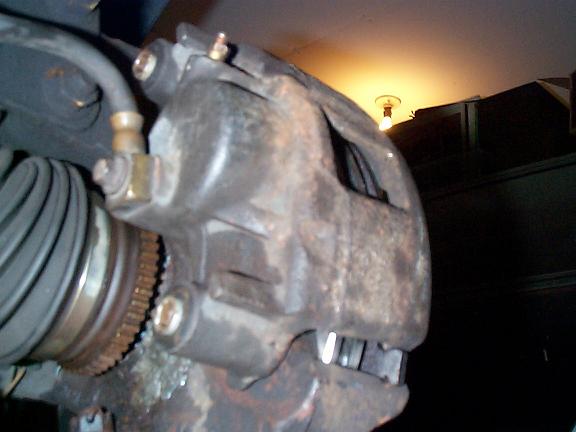
A 3/8 Hex Bit Socket Set is needed to remove the Caliper pins.
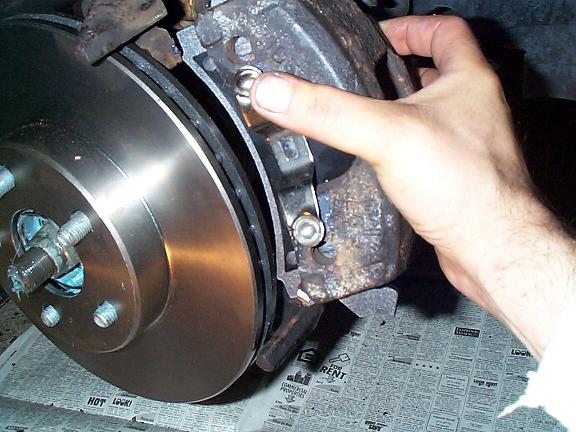
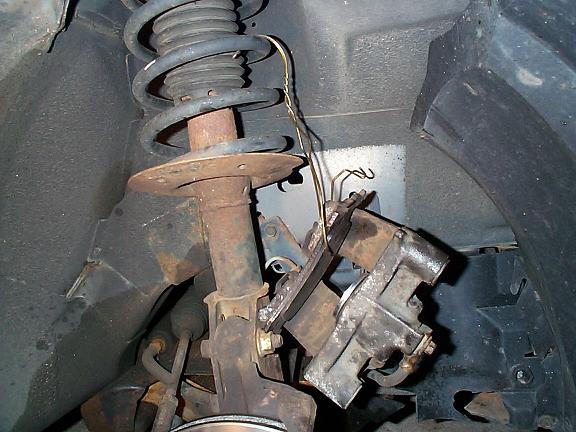
A wire was uses to suspend the caliper.
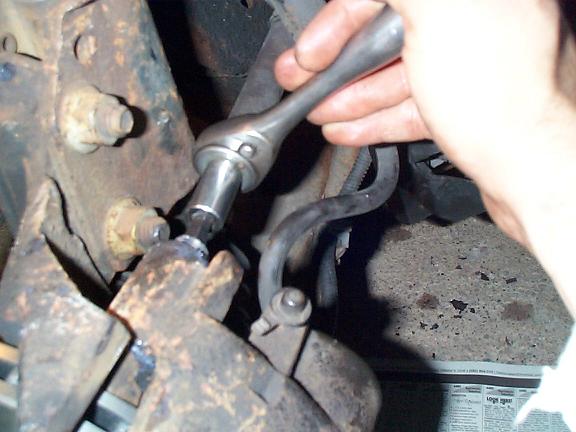
If replacing the hub assembly, remove the axle nut.
Use a screwdriver to prevent the axle from turning.
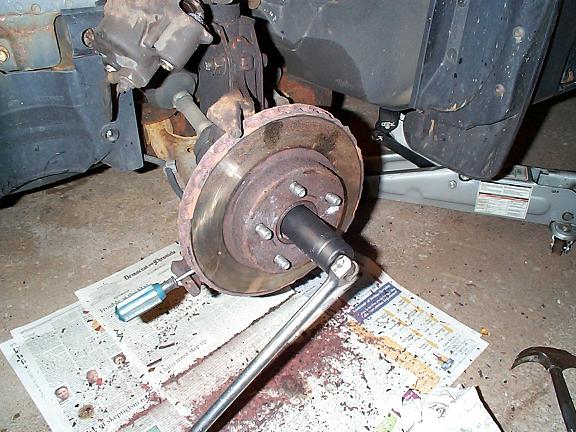
I needed a 29MM socked to fit the axel nut.
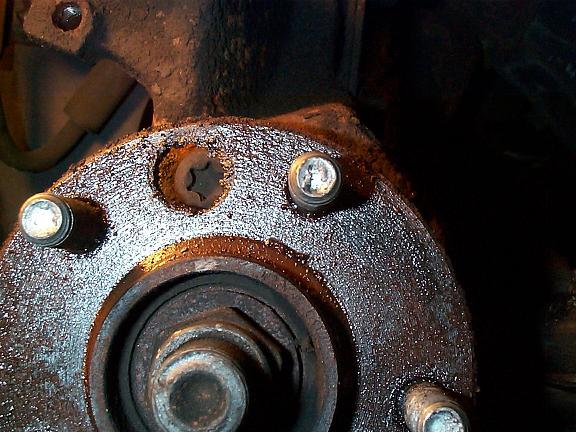
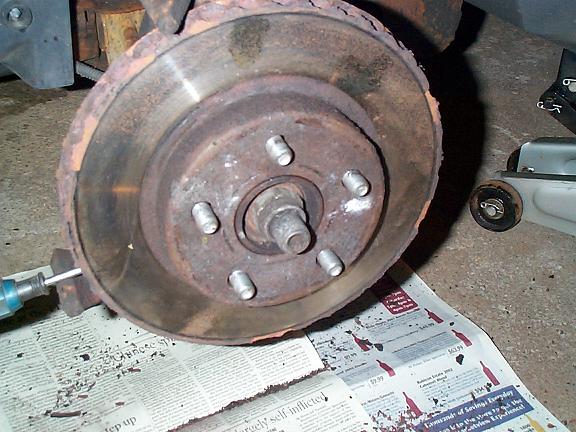
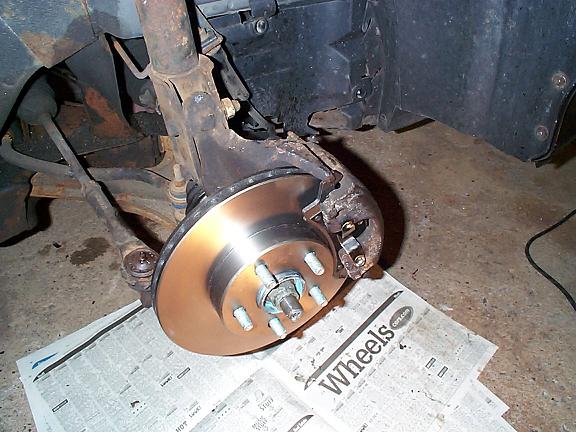
Once the rotor is off, the hub is exposed.
Rotate the hub to align the holes to access the bolts.
A star bit socket T-55 was used to remove the bolts.
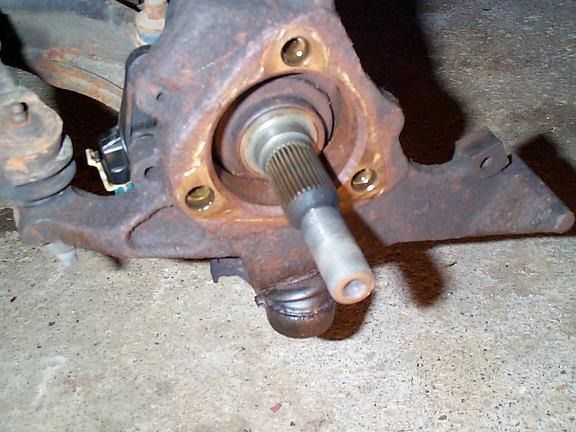
With the hub removed, clean the staring knuckle.
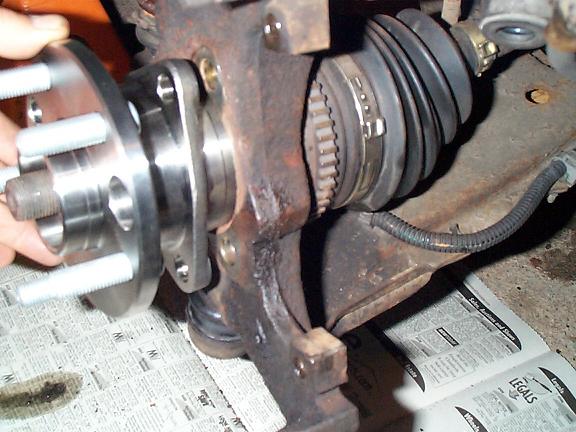
Slide the new hub over the axle.
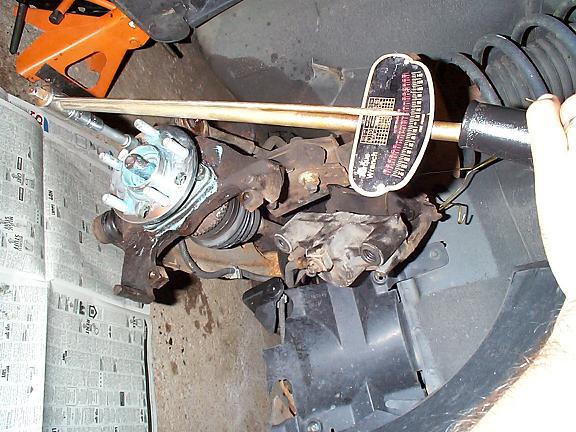
Torque the hub assembly bolts per the specification.
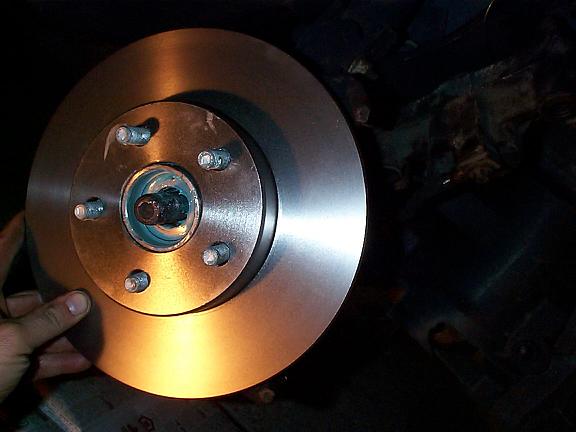
Place the new rotor over the lug nuts bolts.
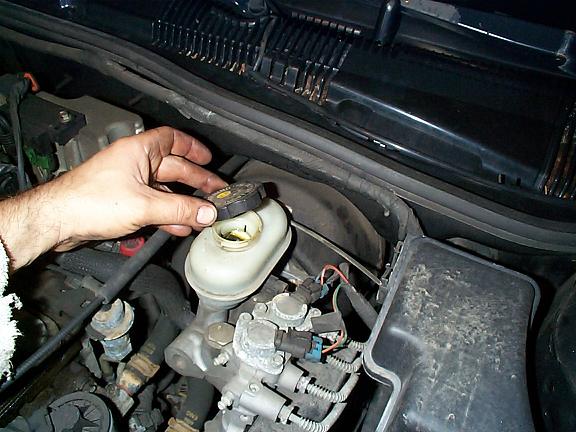
Open the cap on the master cylinder.
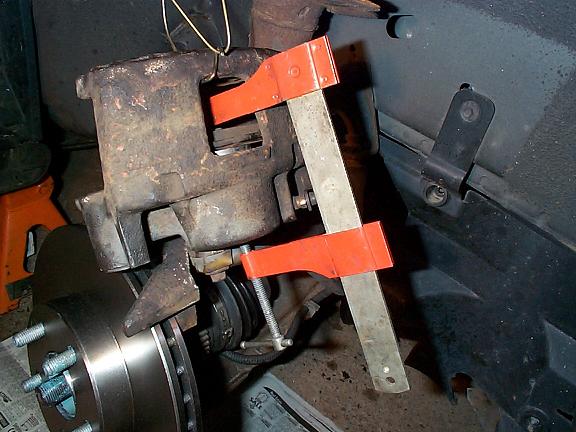
With a c-clamp, press the piston into the caliper
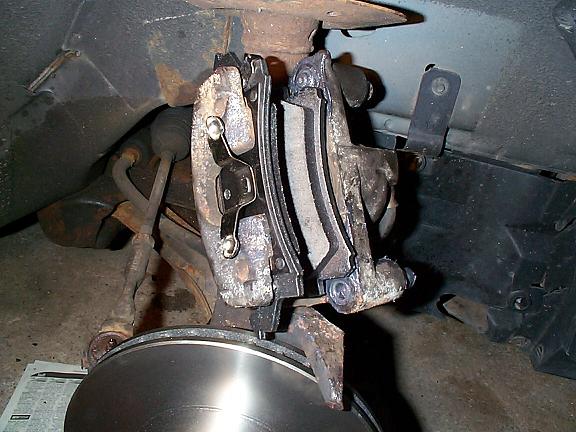
Install the new pads.
Install the Caliper and tighten the caliper pins.
Close the cap on the master cylinder
Install the Wheel and tighten the lug nuts.
Rotherforth ESC Fall 2006